Basic Usage
Introduction to Object Capture
The Object Capture module of My AR Studio allows you to transform a sequence of photographs into an accurate and optimized 3D model, ready to be used in augmented reality projects, 3D visualization, or integration with professional software.
More information on the Product page.
Prerequisites
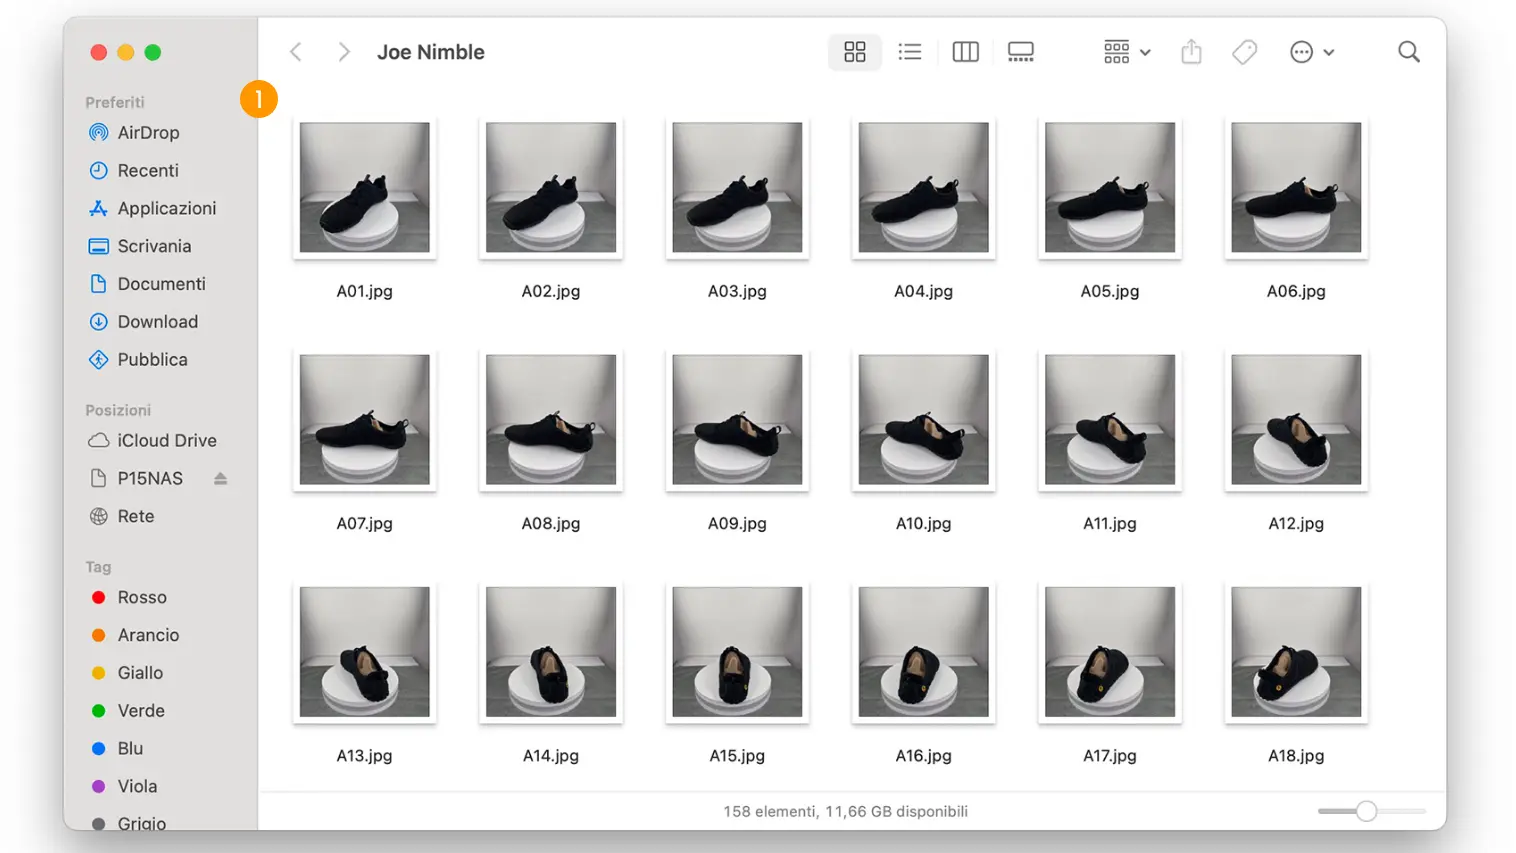
Before starting the creation of a 3D model with Object Capture, make sure you already have a series of photos of the object to be reconstructed on your computer 1. The images should be well-lit, high-resolution, and taken from multiple angles to fully cover the entire surface of the object. Only with a complete photographic set will you be able to achieve a precise and high-quality result.
Model Creation
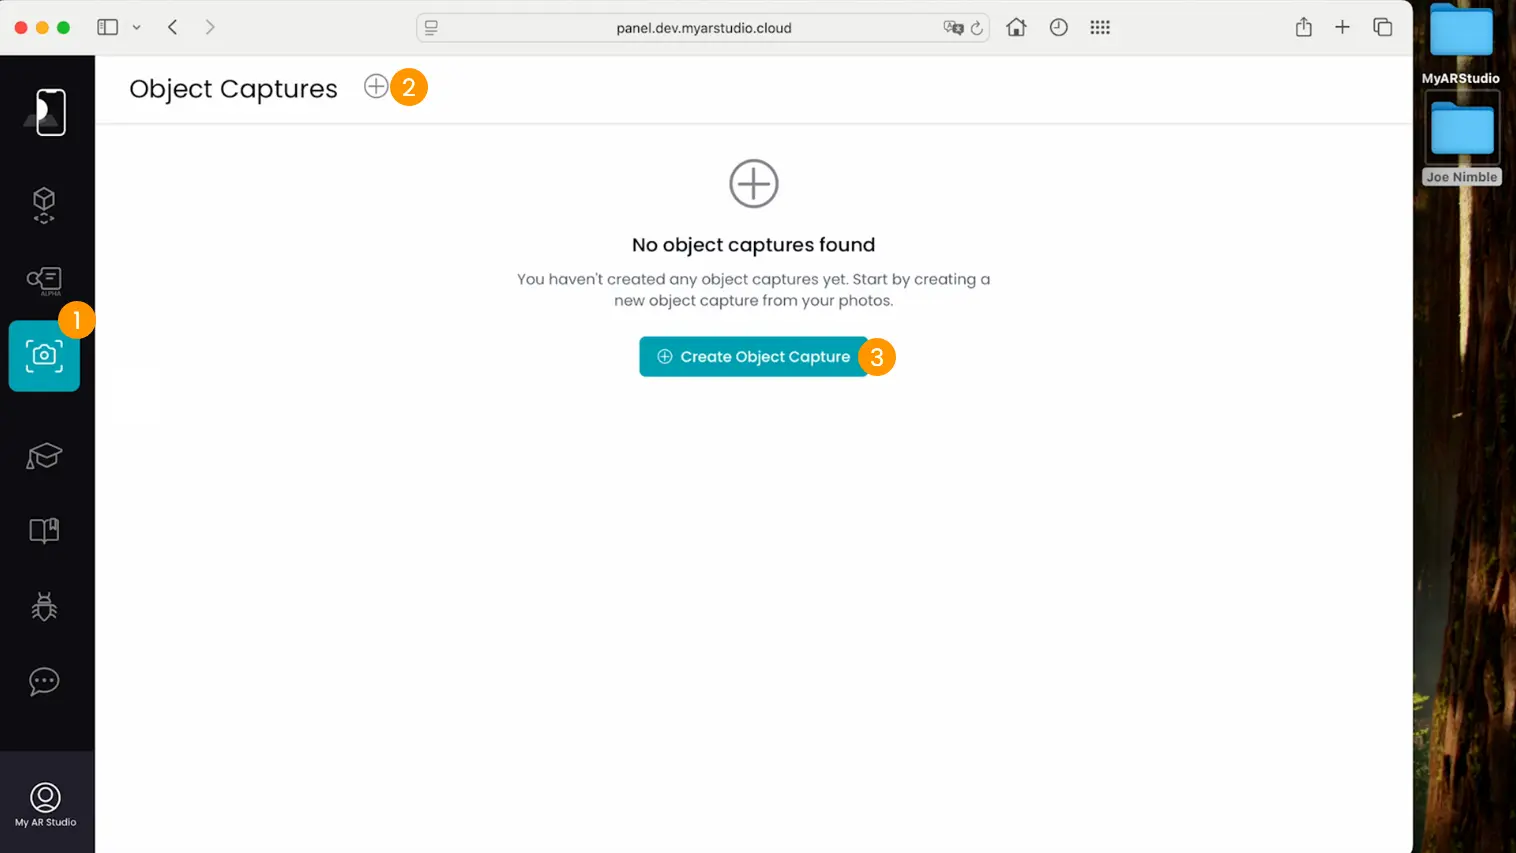
Access My AR Studio and navigate to the Object Capture section 1. Click on 2 or Create Object Capture 3 to start a new project.
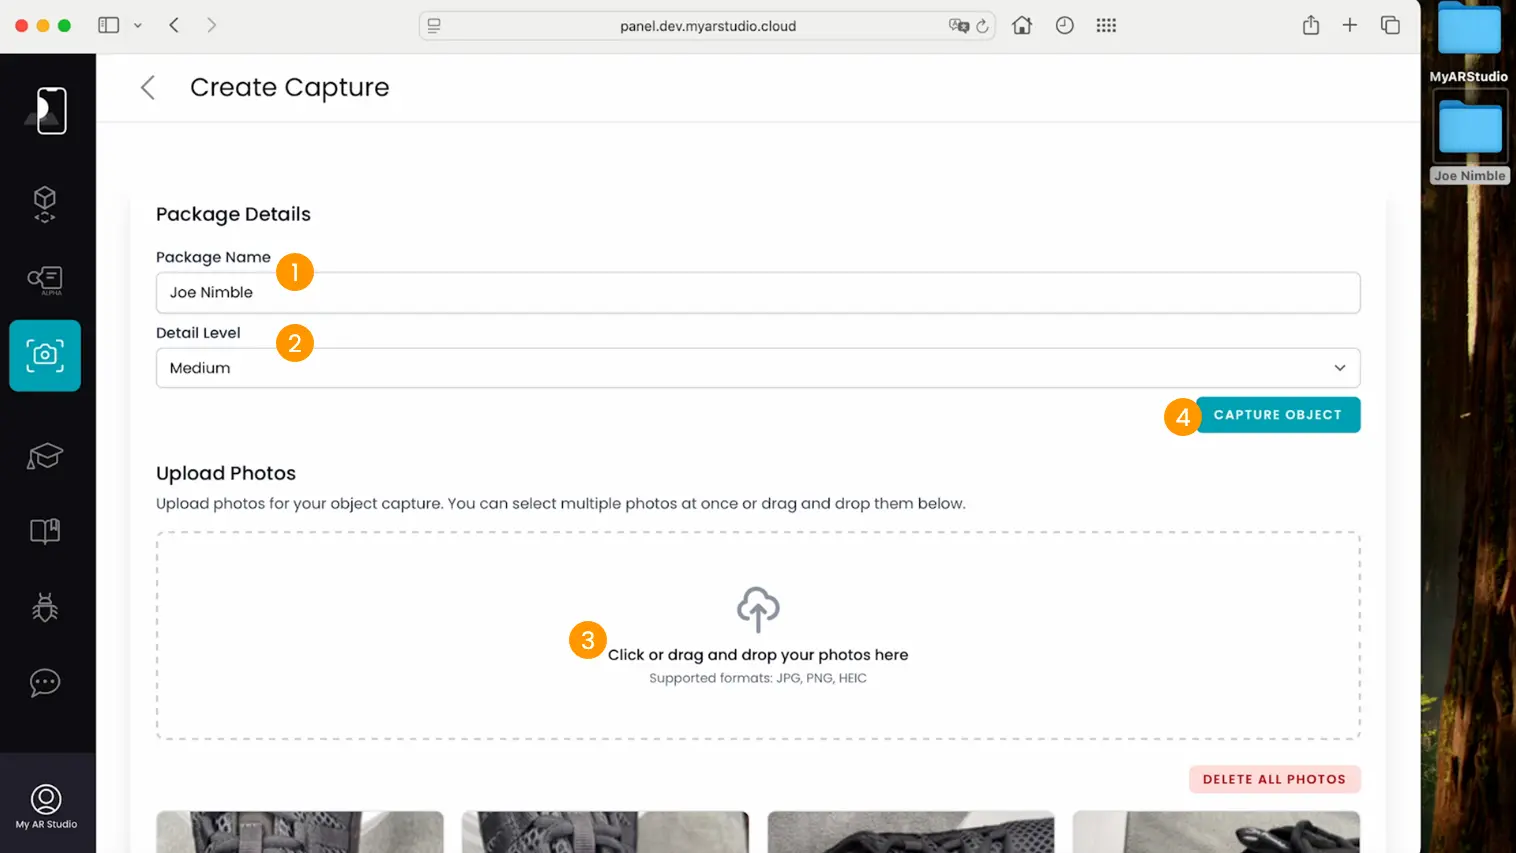
Assign a name to the model 1 and select the desired level of detail 2 based on the intended use.
| Quality | Polygons | Texture | Color | Normals | Metalness / Roughness |
|---|---|---|---|---|---|
| Low | 25k | 2k | ✓ | ✓ | |
| Medium | 50k | 4k | ✓ | ✓ | |
| High | 100k | 4k | ✓ | ✓ | ✓ |
Import the images by multi-selecting them or by dragging the folder containing the photos directly into the interface 3. Once the upload is complete, start processing by clicking Capture Object 4.
The system will automatically proceed with image alignment and 3D geometry generation.
Model Generation
The uploaded photo set is queued for processing.
In the list, you can see the various photo sets you have requested for processing. Each row represents a 3D model generated or to be generated. You can check the status in the "Status" column 1.
| Status | Description |
|---|---|
| Pending | The photo set is queued for processing |
| Started | The photo set is being processed |
| Finished | The 3D model has been generated and is available on My AR Studio |
| Aborted | This status appears if you have canceled the processing |
| Error | An error occurred during processing |

Usually, after a few minutes of waiting, the model is generated and made available. Additionally, My AR Studio applies automatic optimization to reduce file size while maintaining high visual quality.
In the actions column 2, if you click the icon , you can view the photos you submitted for processing or, if the model has already been generated, the 3D model.
Processing can be repeated by clicking .
If you are not satisfied with the processing, you can also request further manual processing of the model 3 by one of our 3D technicians, who will contact you.
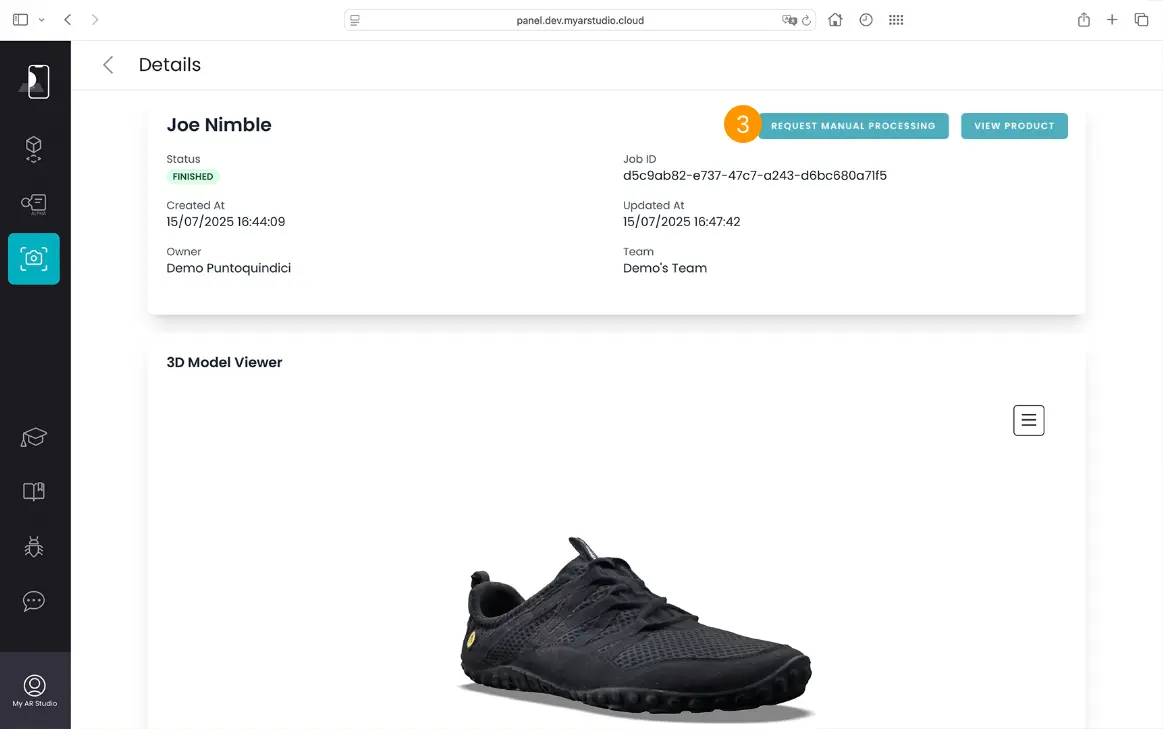
You can view the generated 3D model by clicking .
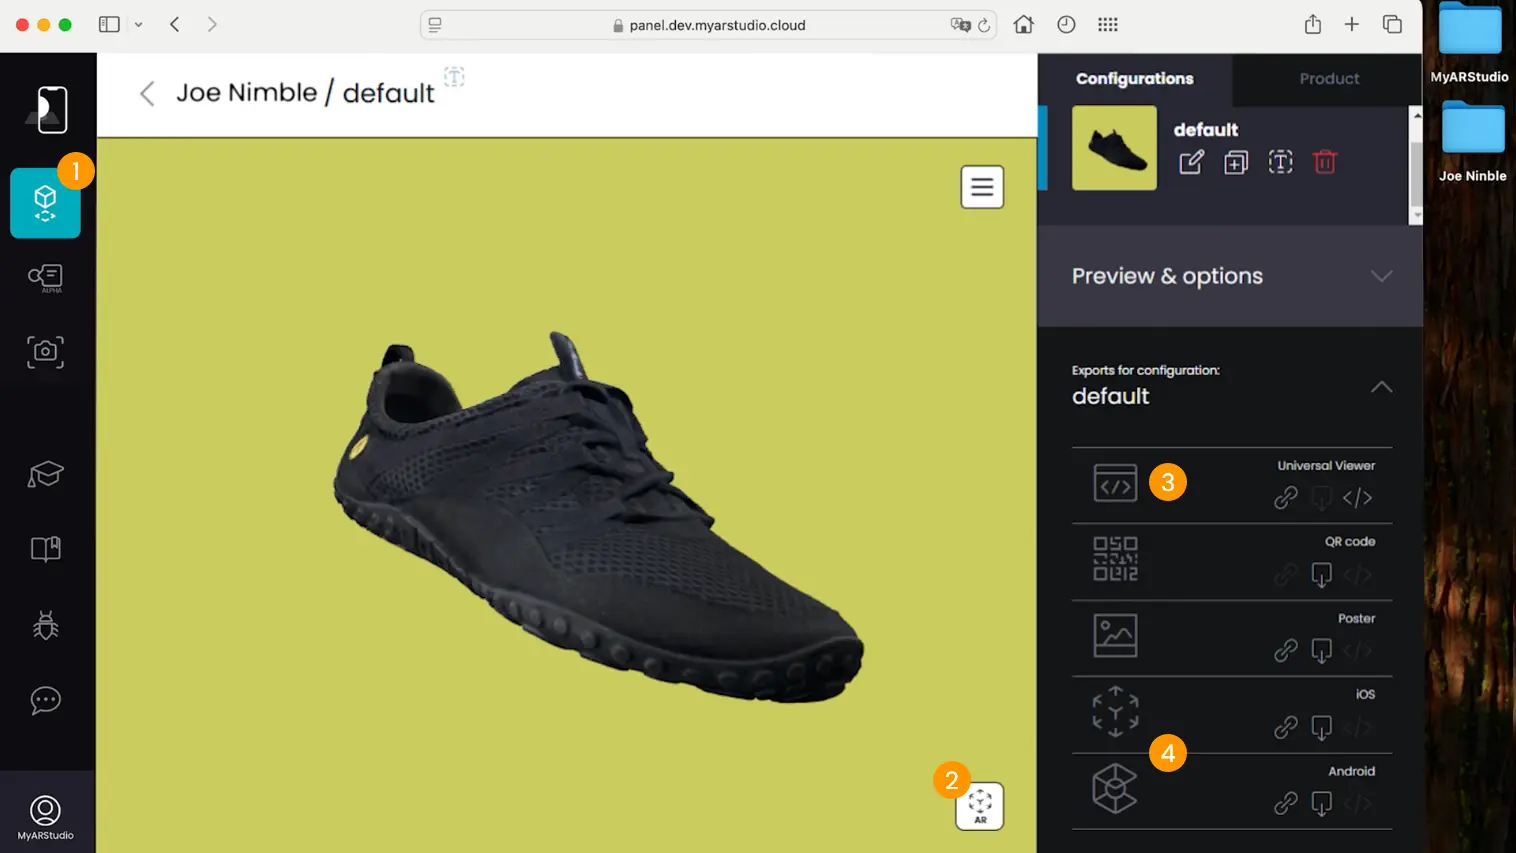
The final model will be available in the Products section 1, with the following features:
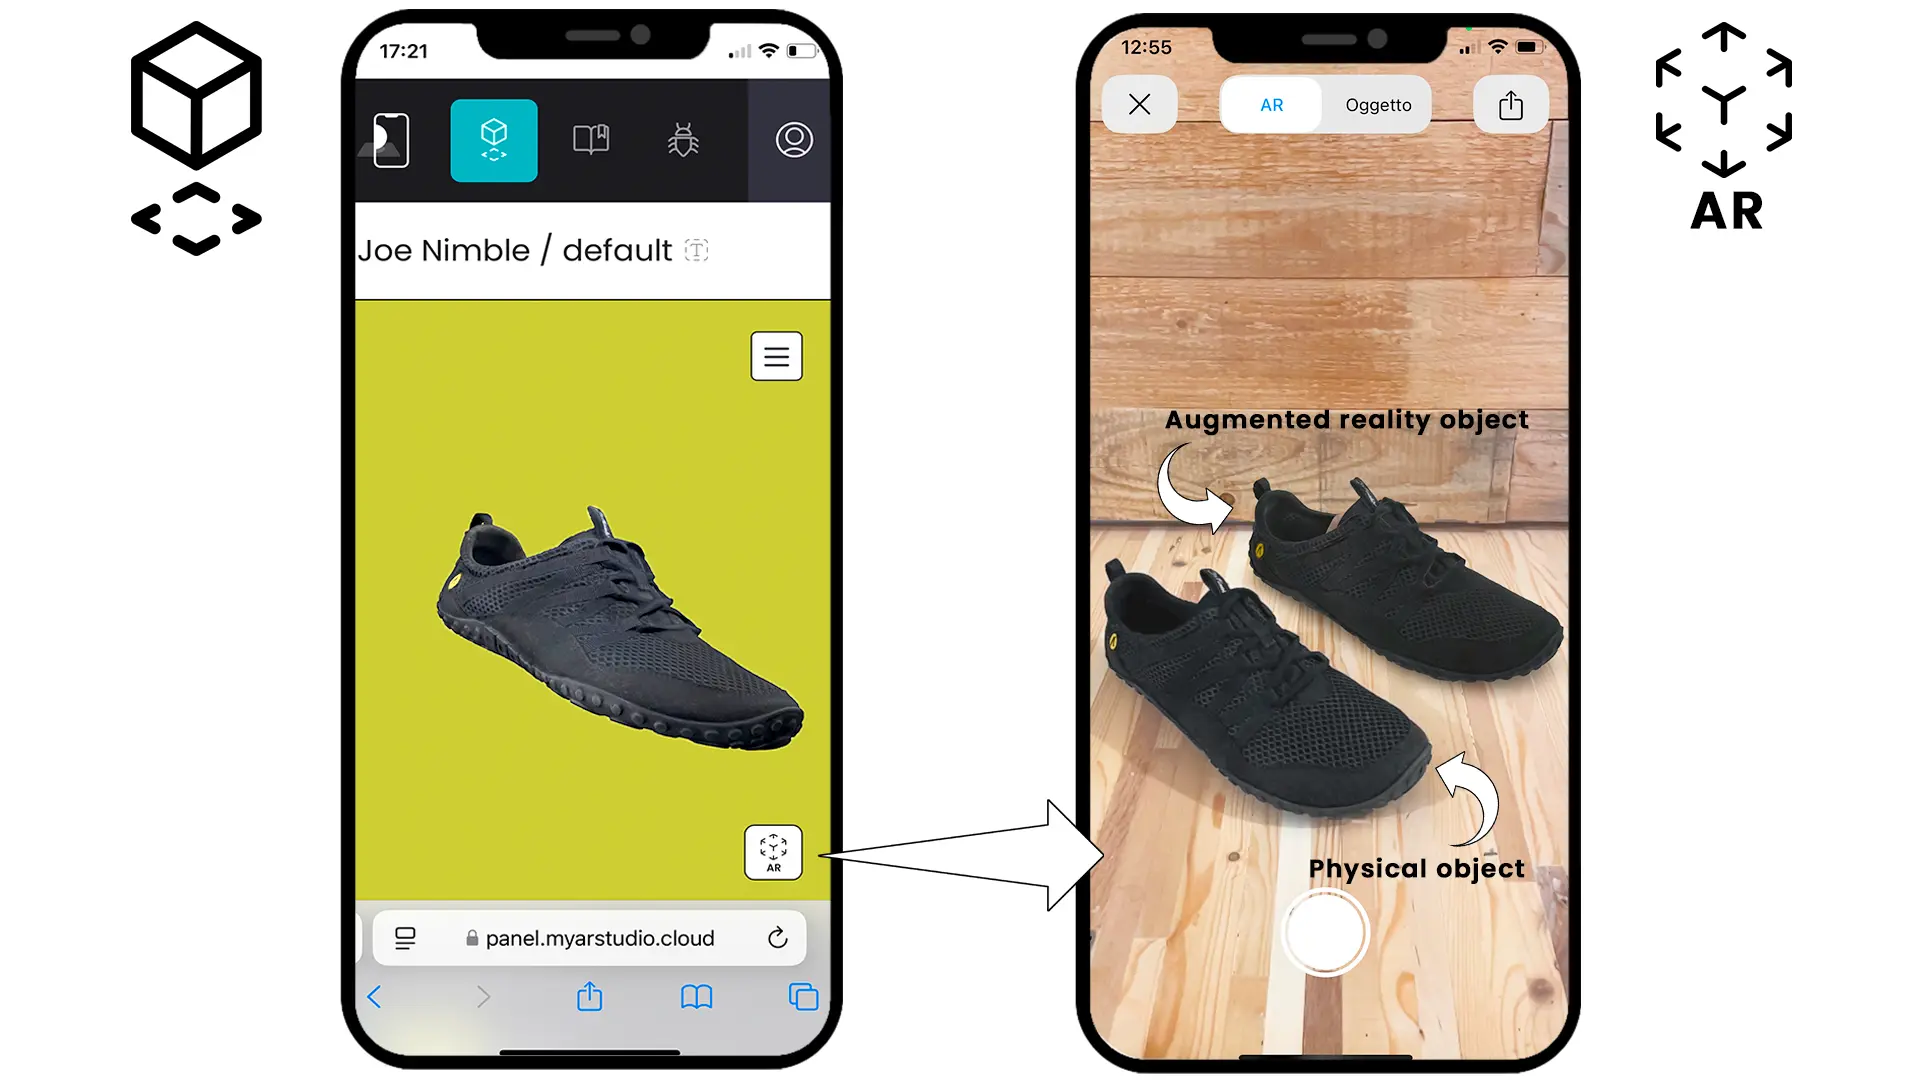
- Integrated AR mode 2.
- Direct sharing via link or embed on a web page 3.
- Download in USDZ and GLB formats 4.
Conclusion
Congratulations! You have just created an optimized 3D model ready to be used in immersive augmented reality experiences or professional 3D projects. Every detail captured has contributed to the creation of a faithful and high-quality digital replica.
Explore the other guides available in our documentation or contact technical support for more information.
Thank you for choosing My AR Studio.